“You reap what you sow,” may be a proverb with profound meaning, but it is literally true where gardening is concerned.
Half the success of seed starting comes from the quality of seeds, and the other half from what you do with them.
Here are some seed starting secrets that will help you have success with batch after batch of seedlings that will eventually grow to full size in your garden.
Keep Records to Allow for Better Planning
An often overlooked aspect of plant propagation is the art of record keeping. Whether you are producing a few plants for your home flower and vegetable gardens or working at a larger-scale nursery, developing a propagation journal will go a long way. One good habit is to record when seeds are sown, the germination date and success rate, and when seedlings are ready for transplanting each year.
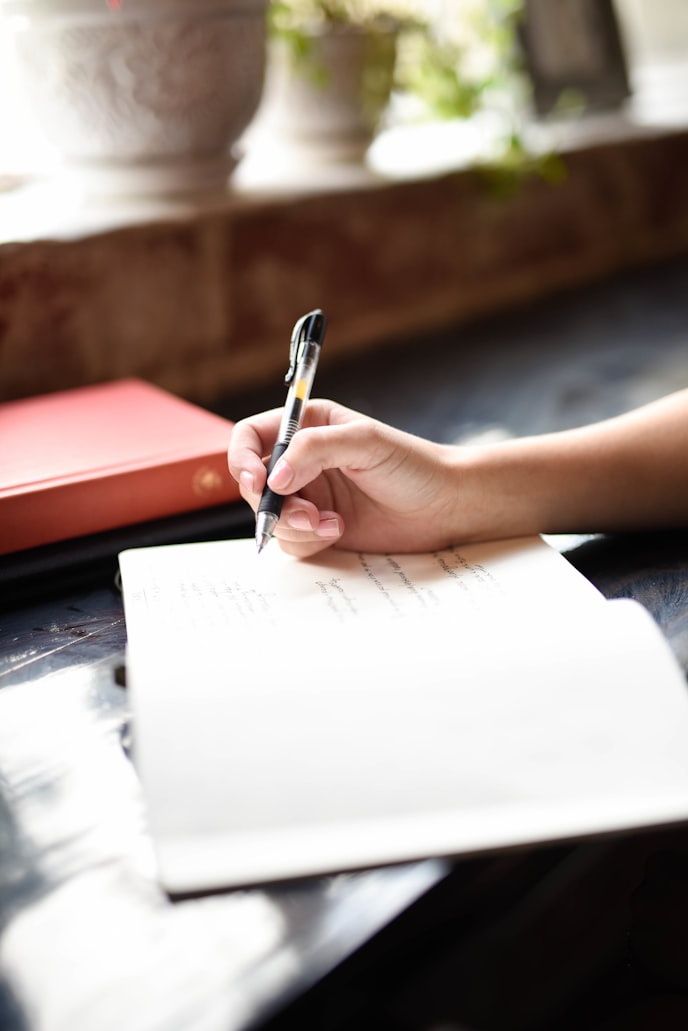
At the end of the year, you should evaluate the timing of your seed starting schedule, noting what went right and what went wrong. These observations help you to adjust for next year to ensure that the growth of your plants is happening in the best possible conditions. It also isn’t a bad idea to keep track of where you purchase seeds, as their quality and reliability may vary by source.
Store Seeds Properly to Maintain Viability
Seeds are a fragile commodity, and if not treated properly, their viability will sharply decline. While some seeds may survive for thousands of years under the proper conditions, others will lose viability quickly, even when properly stored. To maintain dormancy, keep seeds in a cool, dark location with low humidity, like a refrigerator. Then, label them (seed name, source, year) and store them in a small recloseable bag or empty film canister that is, in turn, kept in a larger plastic container.
Once you are ready to sow, you can test the viability of many, but not all, seeds by soaking them in water for a few hours. The seeds that are still living will sink to the bottom, while the dead ones will float on the surface. This test generally works better for larger seeds, but there are no absolutes.
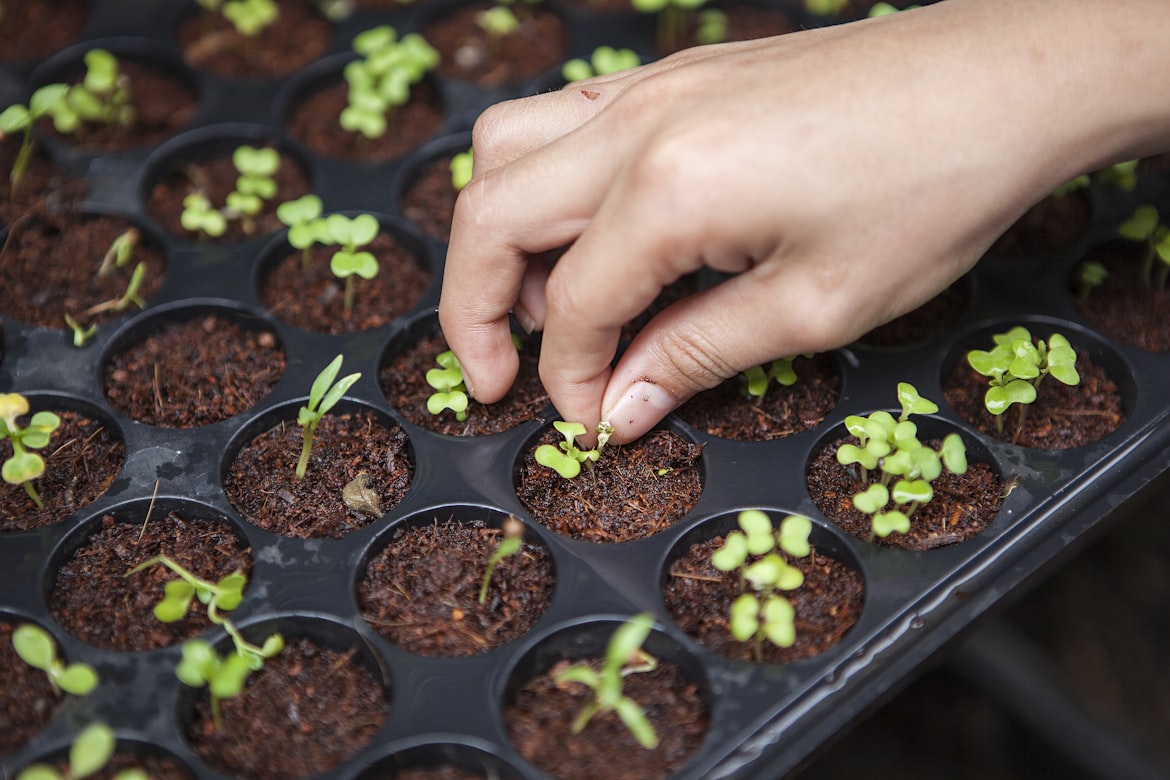
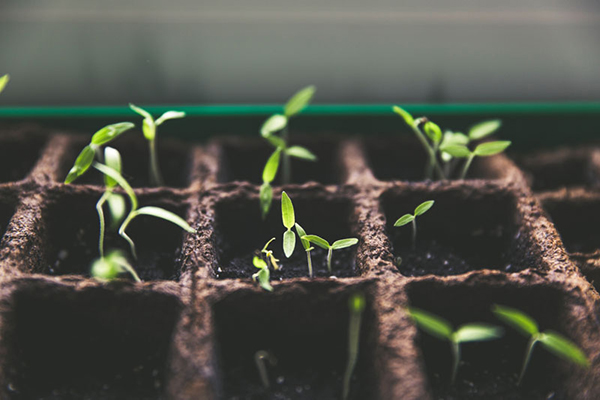
Use Wide, Flat Containers to Avoid Overcrowding
Plastic pots or containers are preferable to clay pots when starting seeds, as they retain moisture more consistently. Wide, shallow containers prevent both overcrowding of seedlings and excessive moisture around fragile, young roots. Plants that resent root disturbance when transplanted are best sown into small, individual containers like cell packs or plug trays. Recycled plastic containers, like empty yogurt or margarine tubs, work well, too, provided you’ve poked holes in the bottom for drainage.
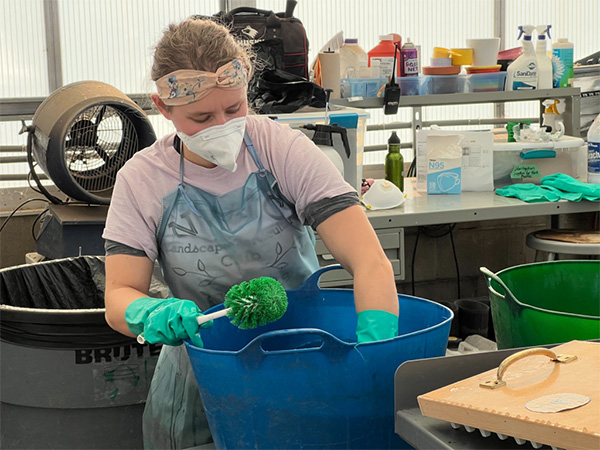
Wash & Sanitize Your Plastic Containers & Tools
In order to prevent fungal disease and other pathogens that may lead to crop failure, wash your plastic. Whether you’re working with horticultural plastic, soil tubs, soil scoops, or utensils, cleaning and sanitizing them during the seeding process is crucial.
No matter what type of plastic you use, it must be clean and free of pathogens. To sanitize a container or plastic tool, soak it in a 10 percent bleach solution for 15 minutes and let it air dry. Get details instructions at the end of this blog post!

Tamp Seeds Down to Make Direct Contact with the Soil
Use a kitchen sieve to spread soilless seed-starting mix evenly over the top of the seeds to the depth of two times the seed diameter. Very small seeds and those that require light to germinate should lie directly on the surface. Whether covered with planting medium or not, each seed must be in firm contact with the moist surface to begin germinating. It can help to use the bottom of a glass to gently tamp down the surface. Ultimately, follow the directions on the seed packet if you’re unsure about the process!
Prevent Disease by Providing Airflow & Drainage
The fungal infection often referred to as damping-off is usually caused by excessive moisture and poor air circulation. However, there are a few techniques that will help to keep fungal agents at bay.
After covering the seeds with planting mix and tamping them down, spread a thin layer of 50 percent milled sphagnum and 50 percent starter chicken grit (finely ground stone) over the surface to keep the soil around the emerging shoots dry and provide an inhospitable environment for pathogens.
To promote good air circulation, it helps to place a small fan near your seedlings. Keep the fan on low and direct it to blow across the containers at the soil level where air may become trapped and stagnant.

Keep Seeds Warm to Encourage Germination
Most seeds require temperatures of 65° to 75°F to germinate. Placing seed containers near an existing heater or using a space heater with the proper precautions can raise the ambient temperature as needed.
A heating pad (or seedling heat mat) designed for plant use placed directly under the seed containers will also warm the planting mix and encourage germination. When using any additional heat source, be sure to check for moisture often, since the seed containers may dry out more quickly.
Rotate Seedlings Daily to Keep Stems Strong
Most seeds will not germinate without sunlight and will perform best with 12 to 16 hours each day. Indoors, place seed containers in a sunny, south-facing window and give the container a quarter turn each day to prevent the seedlings from overreaching toward the light and developing weak stems. Also, gently brush the palm of your hand against the tops of the seedlings to encourage strong stem growth.
Acclimate Seedlings to Direct Sunlight
Before seedlings can be planted outdoors, they need to be hardened off, or acclimated to direct sunlight and fluctuating temperatures. It is best to do this over a period of about three days by placing them in direct sunlight during the morning only of the first day, then increasing their time outside by a few hours each day until they are vigorous enough to be transplanted.
Whether you’ve been growing plants for a few years or several, the tips above will help you take your seed starting process to the next level. If you’re a beginner gardener, we recommend reading our seed starting basics blog post instead for a simpler look at the seeding process.
Spring is on its way… happy seeding!
How to Wash & Sanitize Horticulture Plastic
Horticulture plastic is washed to prevent fungal disease and other pathogens that may lead to crop failure. During the seeding process it is important to keep the seeding area sterile. This means all the benches, floors, horticultural plastic, soil tubs, soil scoops, and utensils should be cleaned and sanitized.
Equipment Needed
- Wash tubs (3) + sink, horticulture plastic, soil tubs, bleach, scrub brushes, pails, etc.
Safety Equipment & Clothing
- Safety glasses/goggles, plastic gloves, plastic apron, rubber boots
- If you are sensitive to irritation from the fumes, wear a dust-mask or ventilator mask.
- Note: Bleach fumes can cause health hazards, so keep the wash area ventilated.
- Note: Never mix bleach with anything but water. Read the bottle label for further instructions.
Wash Method & Tips
- Set up for the washing process:
- One tub is for soaking (bleach and water) and to get off the majority of the debris.
- Second tub (bleach and water) is for washing off more of the dirt.
- Sink is to wash containers and tools a second time with bleach and water.
- Third tub (water no bleach) is placed on the other side of the sink to rinse items.
- Place the washed plastic on a counter or bench to dry overnight. Make sure this area has been washed first.
- After the sterilized plastic has dried, store it until you’re ready to use.
- Additional Tips
- You will not get all the dirt off all the pots, but that’s perfectly okay!
- Soaking and washing the plastic three times in the bleach water ensures the plastic will be clean enough for seed production.
- It’s important to clean up after washing all the plastic containers and tools.
- Take out all the dirty water (with soil and debris) and dump outside in an appropriate area.
- Do not dump dirty water down the sink, as it may clog your pipes.
- The water in the sink and rinse tub can be emptied down the sink.