Last week, we covered a few of the initial steps in planning a garden or landscape area, including goals, budgeting, and spacing. Now, it’s time to actually sketch out your garden design.
Start with a Simple Design
There are a few different ways to go about sketching your garden or landscape design. If you’d like to keep it super simple, just make a crude drawing of your land and plots. You can write down what you plan to plant and where, to help keep in mind what you’ll be doing in late spring and early summer.
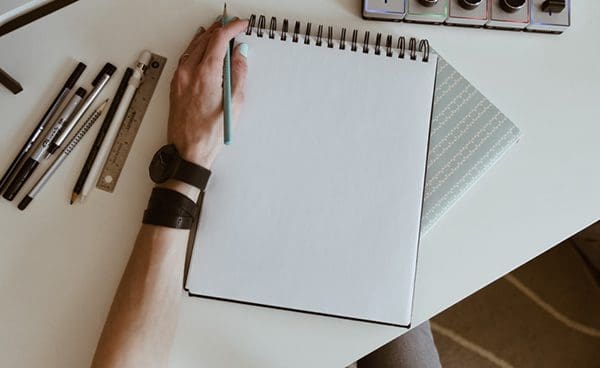
If you want to try a more complex route, you can measure out your garden space before putting pencil to paper. Using a ruler, you can draw your plot to scale, giving you an accurate sense of space on paper. Using symbols and a legend, you can map out your planting before you even put seeds into the ground.
If you plan to do rows, check your seed packets (or look them up online) to find out how far apart you’ll want to space them and how deep to plant. Adding this information to the plan now saves you lots of time later! Here are a number of sample garden layouts if you need inspiration.
Add Notes About the Environment
If you’d like to note more information, we recommend adding descriptions of the environment or predictions of problems that could likely happen during the growing season. You can add information like what spots might flood, areas that could be dry, what pests (insect or other) might become a nuisance, and where there’s more sunlight or more shade, and more.
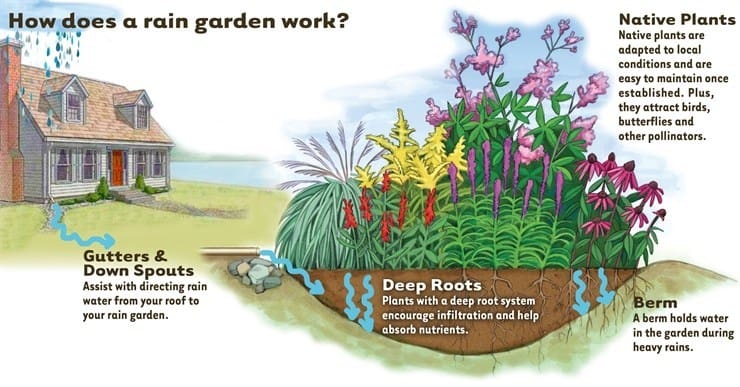
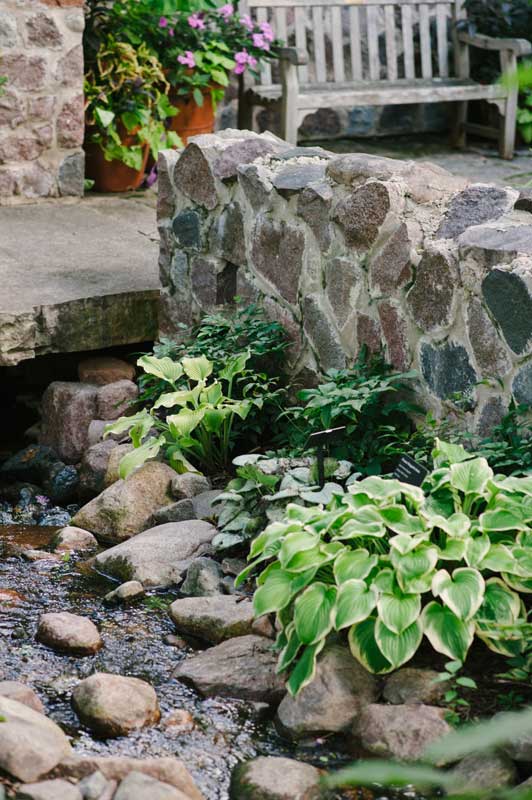
You can also add physical landmarks or structures you plan to add to the site by drawing them in. Drawing these items to scale only matters if it’s directly in the plot or if it could potentially disturb where you can plant.
Place Your Plants on Paper
Now, use all of the information available to you in order to determine where your plants should go. Put plants that do well in sunny areas in parts of your garden that are away from trees or buildings. Plan to put climbing plants near walls or trellises. Put plants that don’t mind being a bit waterlogged in lower lying areas. Again, you might have to consult your seed packets or do a quick online search to discover information about your plants and flowers, but it helps a lot in the long run!
Planting together is a good idea, too, to keep your plot organized. Put plants that are annuals together, and do the same with perennials. Those with similar care needs can be put close by one another to save yourself time and effort. Remember to keep plants that will block the sun away from lower-growing and sunlight-intensive plants.
If you have past garden plans or know where plants were previously planted, it’s also a good idea to mix it up from year to year. This helps certain nutrients in the soil from becoming too far depleted.
Don’t Forget! List Planting Dates
It’s also important to note when you’ll be planting each crop if you’ll be doing successive plantings throughout the growing season or starting things at different times.
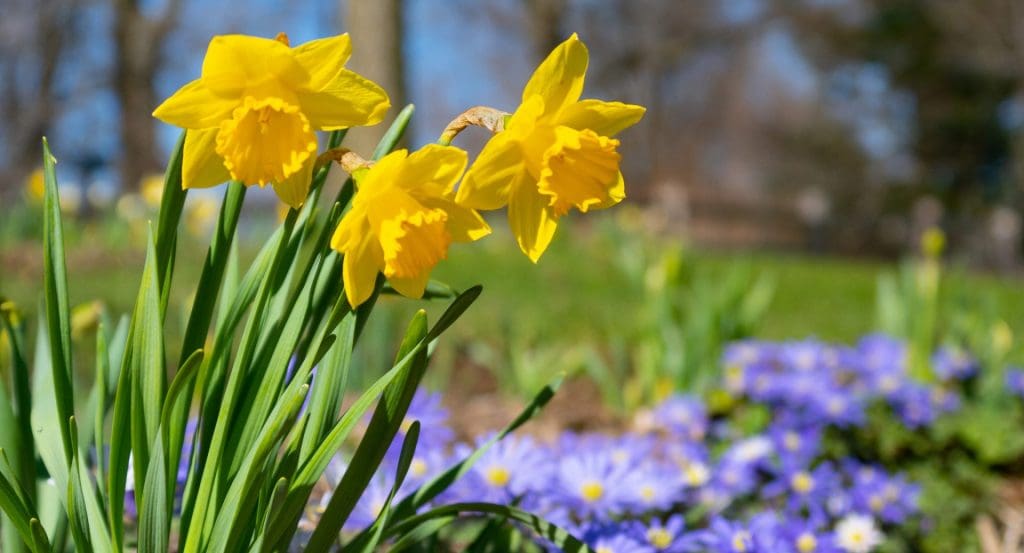
Some plants will finish early and allow you to plant late-season plants when they are done. Blooms on certain flowers will finish, allowing you to replace them with new transplants. If plan to switch out flowers or plant veggies throughout the growing season, it may be a good idea make a “later” version of the design as well. Here at the Garden, we plan several designs throughout spring, summer, and fall to ensure there’s always something blooming!
Feel free to get artistic with your design! Most of the fun comes from drawing cool symbols, beautiful shapes, and using color and shading. A good-looking plan is worth its weight, and makes it easier for you to review later on.
Now that you have a garden or landscape design in place, there’s one last thing you need to prep before the growing season… supplies! In next week’s blog, we’ll take a look making a list of supplies for the next season, including seeds, plants, flowers, fertilizer, tools, and more.

