Bright and colorful blooms are one of the first signs that spring has finally arrived. Spring flowers like tulips and daffodils remind us that winter is in the past (for now!) and that even after months of brutal temperatures and mounting heaps of snow, life can still flourish with beauty.
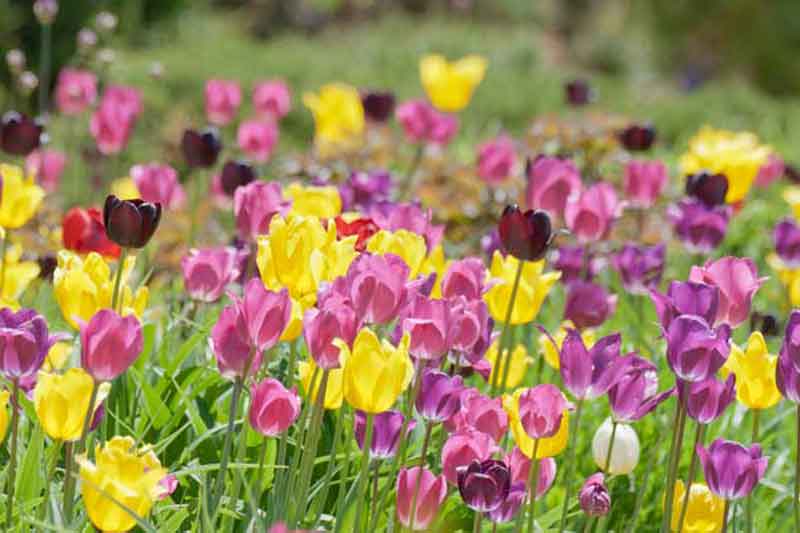
However, before we get to daydream about spring’s blossoms, we have to plant the bulbs that they grow from! As leaves begin to scatter sidewalks and other signs of fall take over nature, the soil has started to cool, which means you should begin planting your spring bulbs.
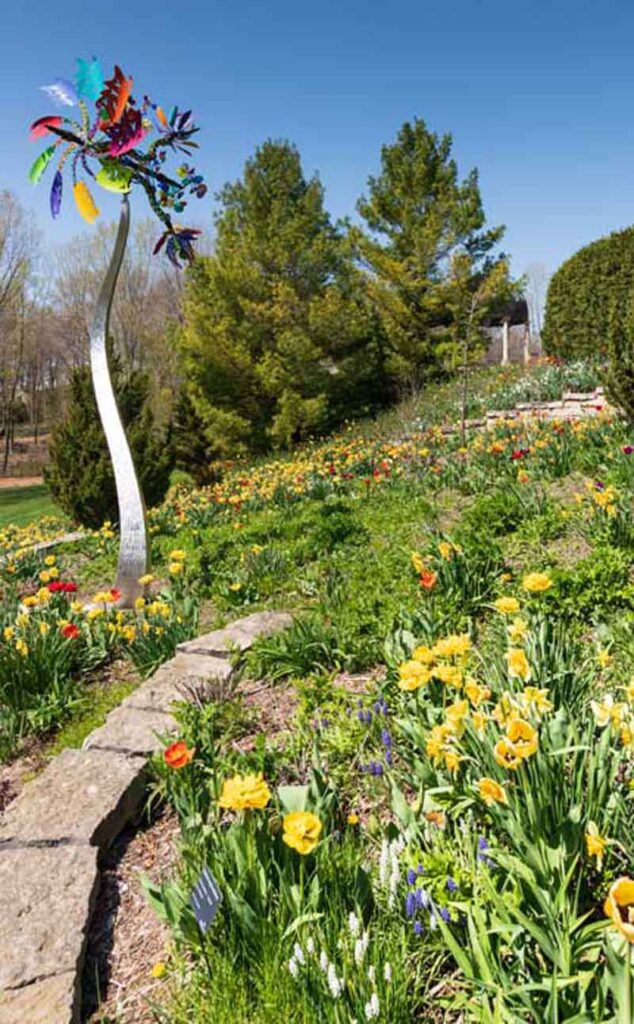
Here are some tips and tricks to ensure your spring garden spaces are filled with vibrant blossoms in late April and early May:
What to Plant
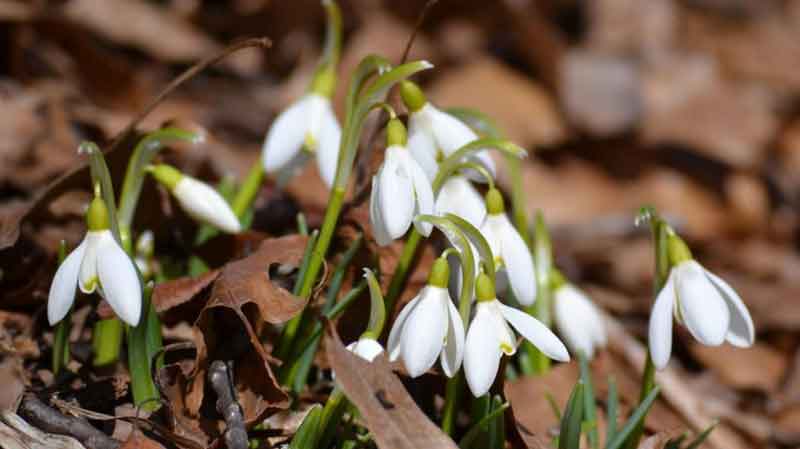
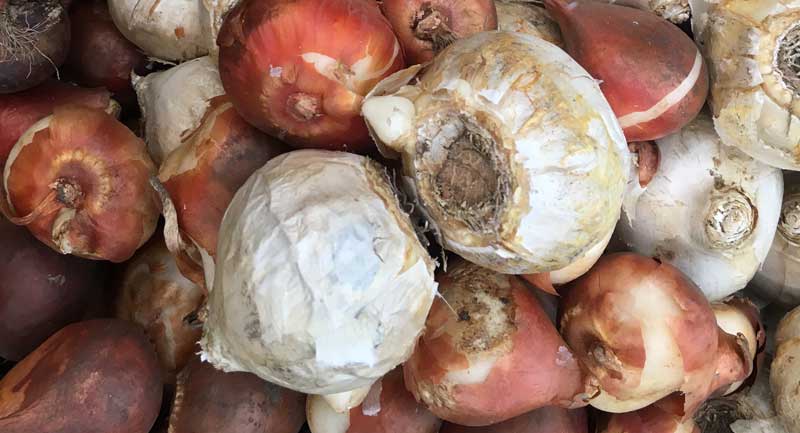
Daffodils, tulips, hyacinths, snowdrops, crocus and alliums are just a few of the bulbs you can plant. Make sure to avoid bulbs that are soft and mushy and instead choose those that are plump and firm. Bigger bulbs are also better because that typically means they will bloom even more!
When to Plant
You should plant your bulbs after the first frost, but also before the ground freezes. At the Garden, we typically start planting bulbs within the first few weeks of October. As a general rule, bulbs of tulips and daffodils should be planted in September or October.
Where to Buy
Most greenhouses, nurseries and big box stores sell spring-blooming bulbs in the fall. You can also order from your favorite mail-order catalog. Our preferred places to order bulbs from include Brent & Becky’s Bulbs and Colorblends®. If you purchase through Brent & Becky’s Bulbs, a port of every dollar you spend supports the Garden!
Before Planting
It’s important to remove any annual plants from the area and cut back any perennials before you plant your spring bulbs. Not only will these efforts make planting easier, but there will also be no debris to inhibit bulb foliage growth or detract from your stunning spring display. Additionally, make sure the area receives at least six hours of direct sunlight every day when they start growing in spring and has well-drained soil to allow the bulbs to thrive.
How to Plant
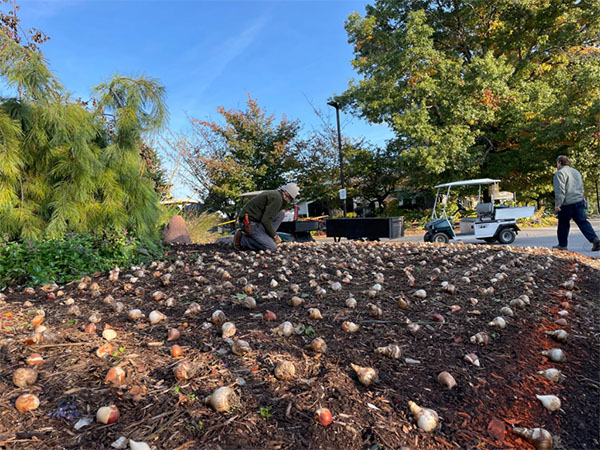
You should plant bulbs 2-3 times deep as they are wide. For example, a 2-inch bulb should be planted 6 inches deep. To get uniform growth, your bulbs should be root side down (which means the pointy side is on top), so all bulbs emerge from the ground and bloom at the same time. Bulbs planted sideways or upside down will still find their way to the soil surface, but it just might take them a little longer.
Similar to most other plants, bulbs need well-drained soil that is rich in organic matter. Therefore, mix compost into your bulbs’ planting holes to ensure the bulbs have the best conditions for blooming.
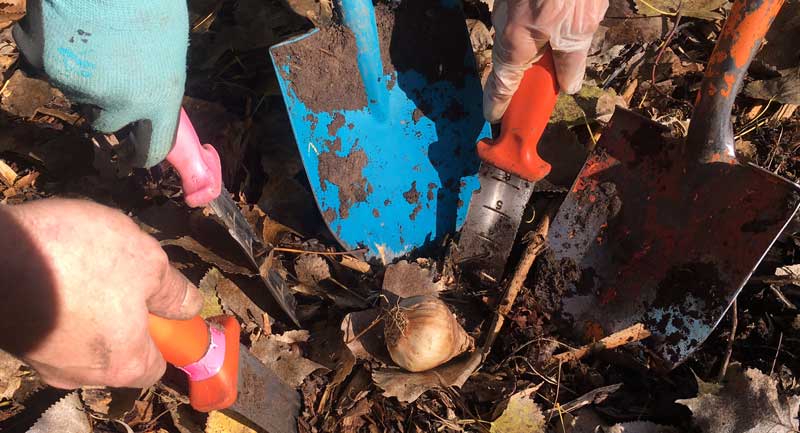
Our favorite tool for planting smaller bulbs in soft soil is a soil knife with serrated edges and depth markings on the blade. It’s available in our WPS Trellis Gift Shop! When planting larger bulbs or those planted in hard soil, we use an electric drill with a soil auger attachment. When you see us using these, you know we mean business!
After Planting
Make sure to water your bulbs once after you put them in the ground to eliminate air pockets and encourage soil-to-bulb contact. Although you won’t see any foliage or flowers until springtime, bulbs establish their roots in the fall.
Consider spreading 2-3 inches of mulch over the soil where your bulbs are planted as well in order to prevent weeds from growing. This way, your bulbs will easily be able to grow through the mulch, but most weeds won’t.
We sprinkle Milorganite® on bulb display beds to help deter critters. For critter-attracting bulbs (mostly tulips) we also spray Liquid Fence® on a weekly basis, until the ground freezes. Once bulb foliage emerges in the spring, we continue our spraying regime until the bulbs are finished blooming.
Don’t like the idea of using Liquid Fence®? Opt for critter resistant bulbs like daffodils and alliums. Or better yet, come to the Garden and enjoy all of our tulips next spring!
Happy Bulb-ing!
Sources


